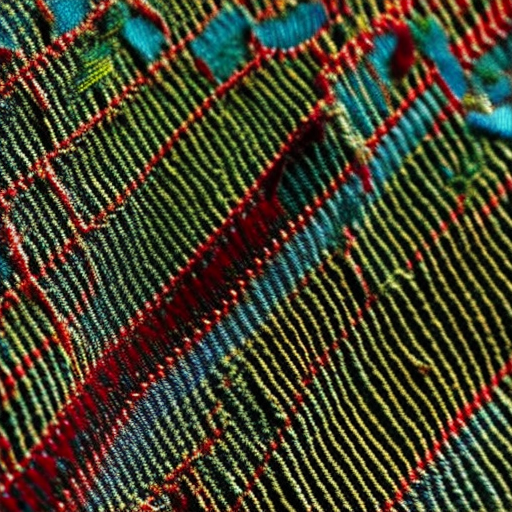

Frayed fabric edges can be frustrating, especially when working on a sewing project. However, there are effective ways to prevent fraying and keep your fabric edges neat and tidy. This article will guide you through some useful steps to sew fabric from fraying.
Step 1: Prepare Your Fabric and Tools
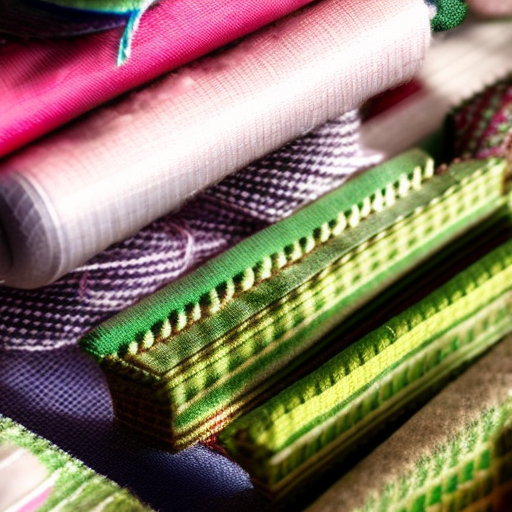
Start by gathering the necessary supplies:
- Fabric with frayed edges
- Sharp scissors or pinking shears
- Sewing machine or hand sewing needle
- Matching thread
Step 2: Trim the Frayed Edges
Using sharp fabric scissors or pinking shears, carefully trim away the frayed portions of the fabric. Make sure to remove any loose threads or fibers. This will provide a clean foundation for your sewing.

Step 3: Seam the Edges
Fold the edge of the fabric over once, towards the wrong side, creating a small hem. Pin the hem in place to secure it. Now, using a sewing machine or hand sewing needle, stitch along the folded edge. This process is known as seaming and helps prevent fraying.

Step 4: Finish the Edges
To further prevent fraying, you can finish the edges of your fabric using various techniques, such as:
- Overlocking: Use an overlocker or serger to encase the raw edges in a neat stitch. This is commonly used for woven fabrics.
- Zigzag stitching: Set your sewing machine to a zigzag stitch and sew along the fabric’s edge to create a zigzag pattern that will hold the fibers together.
- Hemming: Fold the edge of the fabric twice towards the wrong side, creating a clean hem, and stitch it in place. This works well for lighter fabrics or when you want a more polished look.

Step 5: Press and Maintain
After completing your sewing, gently press the fabric to set the stitches and give it a polished appearance. It’s also important to maintain your fabric by washing it according to the care instructions. Keep an eye out for any signs of fraying and fix any loose threads promptly to prevent further damage.
By following these steps and choosing the appropriate finishing technique, you can effectively sew fabric, preventing fraying and ensuring your sewing projects stand the test of time.


Great tutorial! Very helpful
Great tutorial, Valentina! I’m so glad it was helpful! This is such a great way to teach people about how to sew fabric to stop it from fraying and make sure it stays looking nice for longer. I’m sure this post will be very helpful to craft lovers and those who are wanting to start sewing.