
: Adding Personality and Expression to Craft Projects
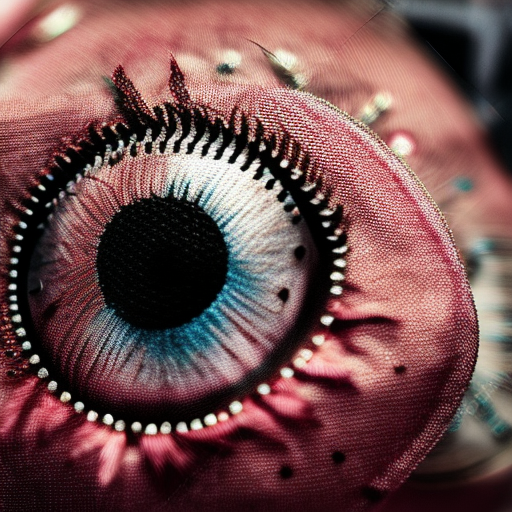
fabric-eyes.jpg” alt=”Sewing fabric eyes” width=”400px”>
When it comes to crafts and DIY projects, adding eyes to your creations can bring them to life. Whether you are making dolls, stuffed animals, or even fabric art pieces, sewing fabric eyes is a fantastic way to add personality and expression. In this article, we will explore the art of sewing fabric eyes and guide you through the process.
1. Gather Your Materials
Before diving into sewing fabric eyes, make sure you have the necessary materials ready. You will need:
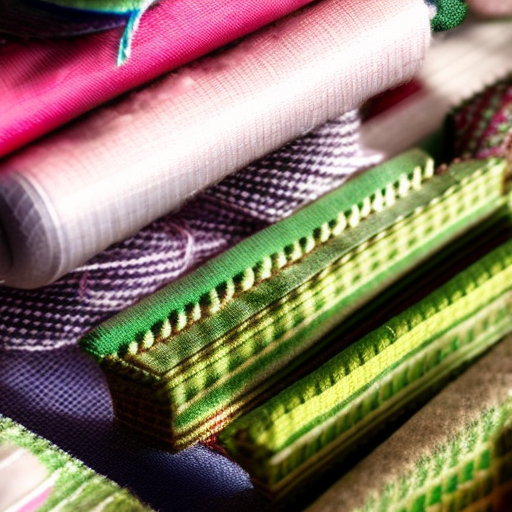
- Fabric pieces in desired eye colors
- Embroidery floss or thread in matching or contrasting colors
- A sewing needle
- A pair of scissors
- A fabric marker or pencil
- Stuffing material (if applicable)
2. Choose an Eye Design
The beauty of sewing fabric eyes is that you have the freedom to choose the design that matches your project’s vision. Decide whether you want your eyes to be round, oval, or a different shape altogether. You can also select the size and color that best suits the aesthetic of your creation.
3. Create a Template
Using a fabric marker or pencil, create a template by drawing the shape of the eyes on the fabric. You can either freehand it or use a stencil for more precise shapes. Make sure the size is consistent if you need multiple eyes.

4. Cut and Prepare the Eyes
Once the template is ready, carefully cut out the fabric eye shapes. Take your time to ensure clean cuts and smooth edges. If your project requires a three-dimensional effect, consider cutting two identical eye shapes for each eye.
5. Sew the Eyes
Thread your needle with embroidery floss or thread that matches or contrasts with the eye fabric. Start your sewing from the backside of the fabric to hide the knot. Use a blanket stitch or whip stitch to sew around the eye shape. Make sure your stitches are evenly spaced and secure each stitch to prevent unraveling. If you are making three-dimensional eyes, stuff them with filling material before closing them up entirely.
6. Attach the Eyes
Now that your fabric eyes are ready, it’s time to attach them to your project. Use the same thread or floss to sew the eyes onto the desired spot, ensuring they are evenly spaced and symmetrical. You can add eyelashes or eyebrows using additional stitches or embroidery techniques to give your creation even more character.

7. Finishing Touches
Once the eyes are securely attached, examine your project to ensure everything looks as desired. If needed, trim any excess threads and give your creation a final inspection. Marvel at how these fabric eyes have transformed your craft into a charming and expressive masterpiece!
Conclusion
By sewing fabric eyes, you unlock a world of possibilities in your crafting endeavors. From dolls to creature plushies and beyond, these eyes add a sprinkle of magic and lively character. So, gather your materials, pick your eye design, and let your imagination soar as you sew your way to captivating creations!

Looks fun!
Denise Fulton: I’m sewing some already!
What a great way to add some personality to your fabric projects! Sewing fabric eyes adds a unique touch, and with each eye you create looking different, you’ll have totally unique projects every time. It’s sure to be a fun and creative experience!