
The quilt pattern pinwheel is a classic design that adds a touch of whimsy and movement to any quilt. With its swirling colors and geometric shapes, the pinwheel pattern is a versatile choice for quilters of all skill levels. Whether you’re a beginner or an experienced quilter, creating a pinwheel quilt is a fun and rewarding project.
Step-by-Step Guide:
1. Choose the Fabrics
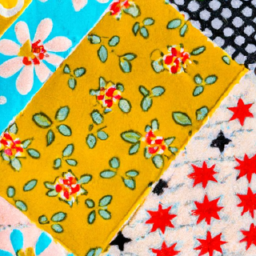
Select a variety of fabrics that complement each other and fit your desired color scheme. You can opt for bold and vibrant hues or soft, pastel shades depending on your preferences. Consider using different patterns and textures to add visual interest to your quilt.
2. Cut Fabric Squares
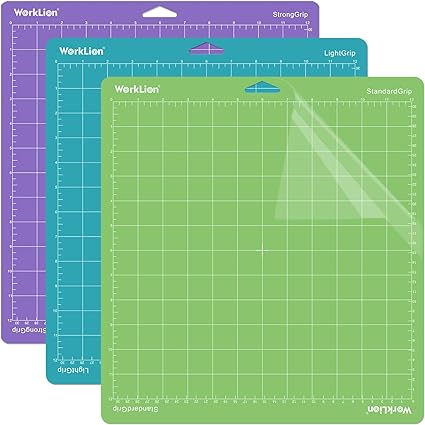
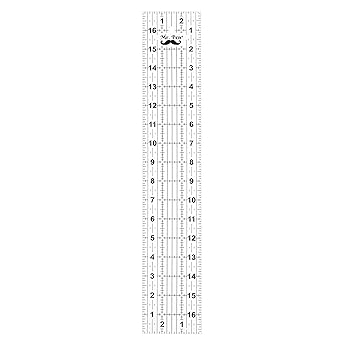
Measure and cut fabric squares for your pinwheel blocks. The size of each square will depend on the overall desired size of your quilt and the number of blocks you plan to create. Be sure to follow the instructions provided with your chosen pinwheel quilt pattern for exact measurements.
3. Sew the Blocks
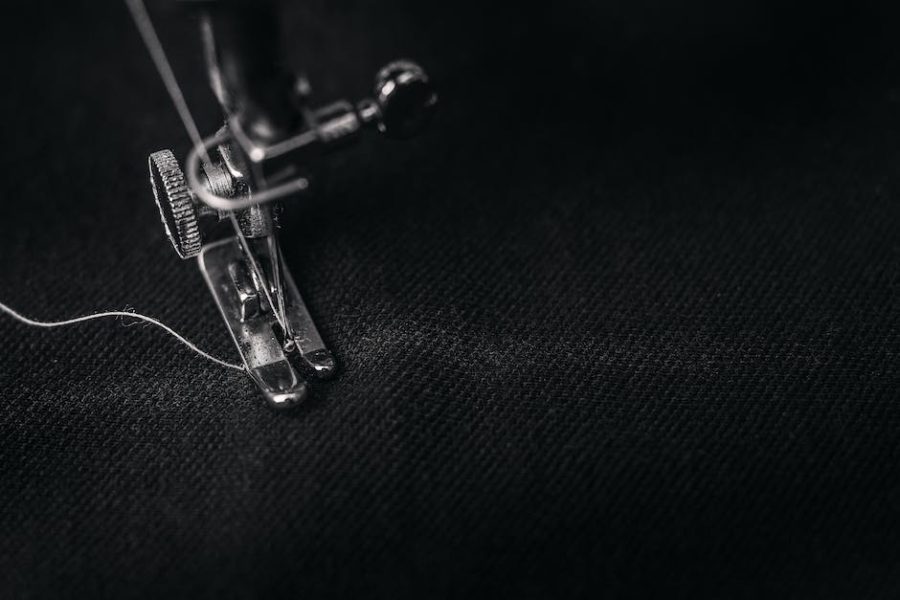
Arrange the fabric squares in pairs, right sides facing each other. Sew along the diagonal of each pair, creating half-square triangles. Press the seams open or to one side, depending on your preference. Repeat this process for all the fabric squares.
4. Create Pinwheel Units
To create the pinwheel effect, arrange four half-square triangles into a square with contrasting colors facing each other. Sew the triangles together, careful to match the seams accurately. Once sewn, press the seams open or to one side.
5. Assemble the Quilt Top
Once you have created enough pinwheel units, lay them out in your desired pattern. Experiment with different arrangements until you achieve the desired look. Sew the units together in rows and then join the rows to form the quilt top. Press the seams for a neat and polished finish.
6. Add Borders and Quilt
To enhance the overall design and provide a finished edge, add borders to your quilt top. Measure and cut fabric strips to the desired width, and sew them to the sides of the quilt top. Repeat this process for the top and bottom borders. Once the borders are attached, layer the quilt top, batting, and backing fabric. Quilt as desired, either by hand or using a sewing machine.
Now that you have completed the quilting process, your pinwheel quilt is ready to be admired or gifted to a loved one. Whether you use it as a cozy blanket, an artful wall hanging, or a decorative piece, the pinwheel pattern will surely catch the eye and bring joy wherever it is displayed.
So gather your fabrics, unleash your creativity, and enjoy the process of creating a beautiful pinwheel quilt that will be treasured for years to come!

Such a beautiful quilt!
Ashley Moore: Definitely adding this to my to-do list!
This quilt pattern is a classic and timeless design, perfect for both beginner and experienced quilters. With its intricate construction, it creates a lovely and unique finished product that can be a true work of art. The colors and shapes make it so dynamic and visually interesting. I’m sure the person you make this for will treasure it for years to come!
I’m a quilter too and can’t wait to make this beautiful pinwheel quilt!