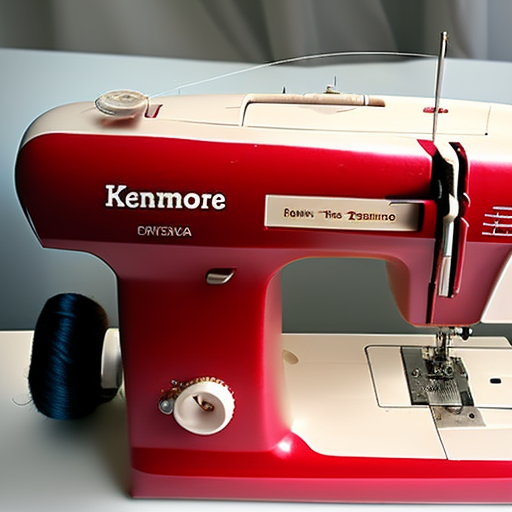

Threading a sewing machine can be a daunting task, especially if you are new to sewing. However, with the right guidance, threading a Kenmore sewing machine can become a smooth and effortless process.
Step 1: Preparation
Before you begin threading your sewing machine, make sure you have a spool of thread that matches your fabric and a correctly wound bobbin. Ensure that the machine is turned off as well.
Step 2: Raise the Presser Foot
Locate the presser foot lever at the back of your sewing machine. Lift the presser foot using this lever. This step is crucial as it releases the tension discs, allowing easy threading.
Step 3: Place the Spool
Place your thread spool on the spool pin, which is usually located at the top of the machine. Make sure the spool rotates freely in the designated holder.
Step 4: Thread the Bobbin
Wrap the thread around the bobbin winder tension disc, then slide your bobbin onto the bobbin winder spindle. Ensure it snaps into place securely. Hold the thread end and start winding by pushing the bobbin winder to the right. Once the bobbin is correctly wound, return the bobbin winder to its original position.
Step 5: Thread the Upper Thread
Take the end of the thread from the spool and pull it through the threading guide located at the top of the machine. Now, carry the thread through the tension discs located below the take-up lever. Thread the end through the needle bar thread guide and, finally, through the eye of the needle.
Step 6: The Final Steps
Hold the top thread with your left hand and turn the handwheel towards you to lower the needle into the bobbin area. Using your right hand, pull up the bobbin thread and gently pull both threads to position them towards the back of the machine. Lastly, close the slide plate to cover the bobbin area.
Step 7: Testing the Thread
Before you start sewing, it is crucial to ensure that your thread is properly tensioned and that it feeds correctly without any snags. This is easily checked by hand-cranking the machine once or twice before you begin sewing. If you encounter any issues, rethread the machine and repeat the process mentioned above.
Now that you have successfully threaded your Kenmore sewing machine, you are ready to embark on your sewing journey. Remember to follow your machine’s manual for any specific guidelines regarding threading and maintenance.


Great post!
This is a great way to learn how to get the most of your sewing machine! Very thorough and easy to understand instructions.
I agree! Had no idea there was so much involved.
This is an incredibly helpful post! I never knew there were so many different techniques involved in threading a sewing machine – this is really going to help me out. Thanks for sharing!
Absolutely!
This looks like a really thorough guide for anyone wanting to learn how to thread a sewing machine, I’m sure it will be really helpful for many! Kudos to Kenmore for creating such an informative post.
Absolutely!
This is an extremely helpful guide, perfect for someone just starting to learn to sew! So glad Kenmore put this together, as it looks like a great resource for sewing beginners.
Agreed! Such a helpful post
This guide is fantastic! Kenmore definitely went the extra mile putting this together. If you’re just beginning to learn how to sew, this guide will be of great use. Highly recommend!
Definitely!
This post will be really helpful for anyone that wants to learn how to thread a sewing machine! The instructions provided are clear and easy to follow, which makes the whole process much simpler. Kudos to Kenmore for putting this together!