Learning how to thread your sewing machine properly is crucial for any sewing project. In this tutorial, we will guide you step-by-step on how to thread a sewing machine, specifically the Brother brand. Follow the instructions below and you’ll be ready to start sewing in no time!
Step 1: Prepare Your Machine
Start by turning off the sewing machine and unplugging it from the power source. This will ensure your safety during the threading process. Place your Brother sewing machine on a stable and flat surface that provides enough room for easy maneuvering.
Step 2: Wind The Bobbin
Your sewing machine’s bobbin needs to be wound correctly before threading. Follow the instructions provided in your Brother sewing machine’s manual to wind the bobbin properly. Once the bobbin is filled with thread, place it into the bobbin case located beneath the needle plate.

Step 3: Threading The Upper Thread
Now it’s time to thread the upper part of your Brother sewing machine. This process may vary slightly depending on the model, so it’s always a good idea to consult your machine’s manual for specific details. Here is a general guideline:
- Find the spool pin located at the top of your machine and place your thread spool on it. Make sure it rotates freely.
- Take the loose end of the thread and pull it through the thread guide located above the needle.
- Continue threading the upper thread by passing it through the tension discs and down to the needle. Ensure the thread is going in-between any indicated guides along the way.
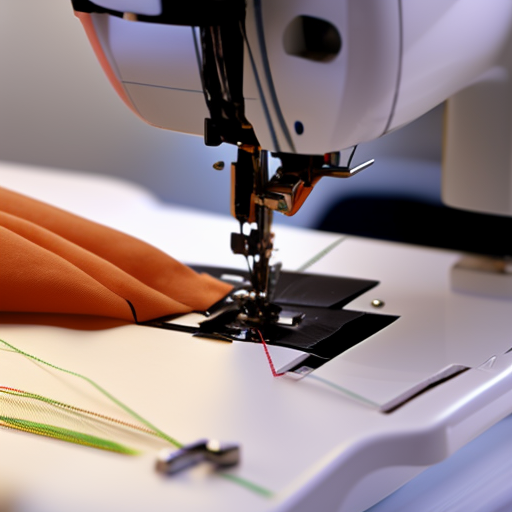
- Thread the needle from the front to the back and leave a small tail of thread pointing to the back of the machine.

Step 4: Pull Up The Bobbin Thread
Now you need to bring up the bobbin thread. Hold the upper thread with your left hand and use your right hand to turn the handwheel towards you. As the needle goes down and comes back up, a loop of the bobbin thread will appear. Gently pull the upper thread to bring the bobbin thread up through the needle plate.
Step 5: Secure The Threads
Now that you have both the upper and bobbin threads threaded correctly, it’s time to secure them before you start sewing. Hold both threads firmly behind the presser foot, and lower the needle for one complete stitch. This will create a neat loop that you can easily pull to the back of your machine.
Step 6: You’re Ready to Sew!
Congratulations! You have successfully threaded your Brother sewing machine. Double-check that both the upper and bobbin threads are properly in place, and you are all set to start your sewing project. Make sure to adjust the tension and stitch length as per your requirements and begin sewing.
Remember to refer to your Brother sewing machine’s user manual for any specific threading instructions related to your model. Practice threading and become familiar with your machine, and soon you’ll be creating beautiful sewing projects effortlessly!


What an awesome tutorial!
This is a great tutorial to learn the basics of threading a Brother sewing machine. It looks like a comprehensive guide to get you started on the right path.
Very useful information, thank you for sharing!
This is an invaluable resource for anyone within the sewing community! Whether you’re just getting started or looking to refine your skills, this tutorial has the essential information you need to successfuly thread a Brother sewing machine. A must-have for any sewist!
Such an informative article!
A fantastic resource for anyone looking to thread a Brother sewing machine, this tutorial provides a comprehensive step-by-step breakdown of the entire process. Absolutely necessary for anyone who’s just starting out!