
Fabric baskets are not only functional but also a stylish way to organize your home. Whether you need a storage solution for your craft supplies or want to add a decorative touch to your space, sewing fabric baskets can be a fun and rewarding project. Here is a step-by-step guide to help you create your own fabric baskets.

Materials you will need:
-
- Fabric of your choice
-
- Interfacing
-
- Matching thread
-
- Scissors
-
- Pins
-
- Sewing machine
-
- Iron
-
- Optional: trimmings or embellishments
Instructions:
-
- Prepare the fabric: Start by washing and ironing your fabric to prevent any shrinkage or future mishaps while cleaning the basket.
- Cut the fabric: Measure and cut two rectangles for the outside and inside of your basket, and two smaller rectangles for the handles. For a standard-sized basket, try cutting two 12×14 inch rectangles for the main pieces, and two 2×12 inch rectangles for the handles.
- Iron the interfacing: Cut interfacing pieces slightly smaller than the fabric pieces. Place them on the wrong side of the main fabric pieces and use your iron to fuse them together following the manufacturer’s instructions.
- Join the main pieces: With right sides facing, stitch the main fabric pieces together along the sides and bottom, leaving the top open. This will form the body of the basket.
- Create the box corners: Fold each bottom corner of the fabric towards the center to form a triangle. Pin and stitch across the fabric about an inch from the point. Trim off the excess triangle.
- Attach the handles: Take your handle pieces and fold them in half lengthwise with right sides facing. Stitch along the long edge and one short edge, leaving the other short edge open. Turn the handles right side out and press them flat. Position and pin them in place on the exterior sides of the basket.
- Sew the lining: Repeat steps 4 and 5 with the remaining fabric rectangles, but this time leave a small opening in one of the side seams for turning the basket right side out later.
- Assemble the basket: Slip the lining inside the main fabric with right sides together. Match the side seams and pin in place. Stitch around the top of the basket, leaving a small opening for turning. Carefully turn the basket right side out through the opening.
- Finishing touches: Stitch the opening closed, and press the top of the basket. If desired, you can add trimmings or embellishments to personalize your fabric basket.
Now you have your very own fabric basket! You can create multiple baskets using different fabrics, sizes, and designs to suit your specific needs and style. These versatile baskets can be used for organizing your sewing supplies, storing toys, holding bathroom essentials, or even as decorative plant holders!
 A vibrant fabric basket adds a pop of color to any room.
 Stackable fabric baskets are perfect for organizing small items.
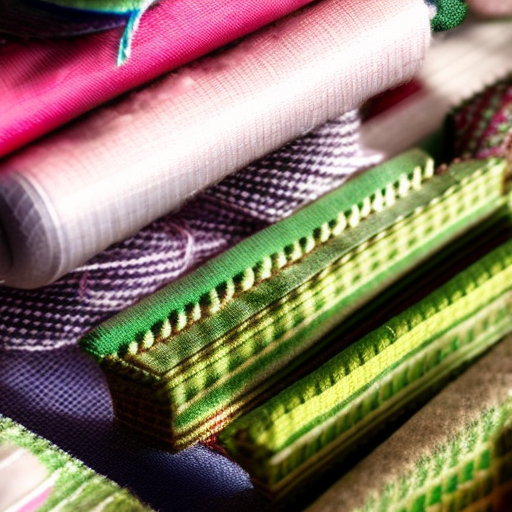
 Customize your fabric basket with different patterns or trims.
Now that you know how to sew fabric baskets, unleash your creativity and start organizing your space in style!


This looks like a fantastic project, thanks for sharing!
Gina Barton: So creative! I’d love to give this a go.
This is a great project to spruce up any storage area! I’ve never tried basket-making before, but this post looks like it would help any beginner create beautiful baskets out of fabric. Thanks so much for sharing the instructions!