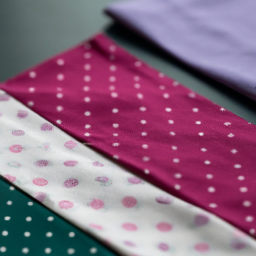
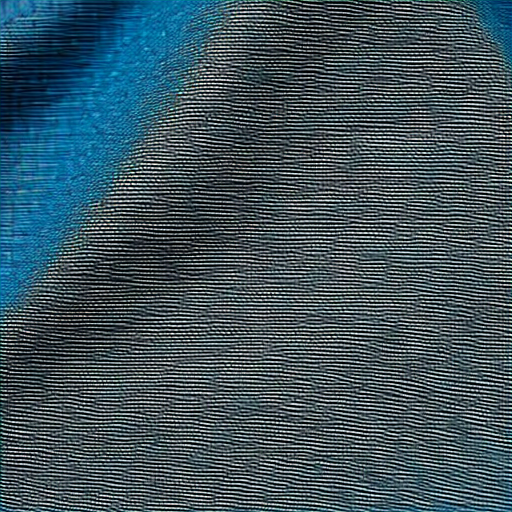
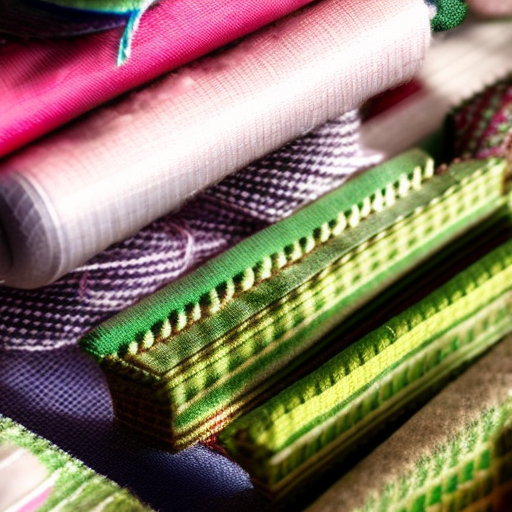
Select a fabric: Choose a fabric that complements the shirt and can be easily sewn. Cotton and linen work well for beginners.
Measure and cut the fabric: Take measurements of the area where you want to sew the fabric and add an extra inch for seam allowance. Cut the fabric accordingly.
Pin the fabric: Place the fabric on the shirt and use sewing pins to secure it in place. Make sure it is taut and wrinkle-free.
Thread the needle: Choose a thread color that matches the fabric or the shirt. Thread the needle and tie a knot at the end.
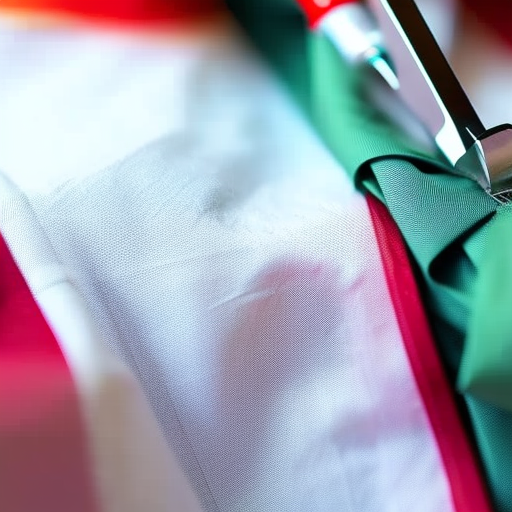
Start sewing: Begin sewing from one corner, using small and even stitches. Sew along the edges or create a desired pattern. Keep the fabric pulled taut as you sew.
Tie off the thread: Once you finish sewing, tie off the thread with a knot on the inside of the shirt. Trim any excess thread.
Tips for Successful Fabric Sewing:
Use a sewing machine if you’re comfortable with it, as it can make the process quicker and more efficient.
Iron the fabric before sewing to remove any wrinkles and ensure a smooth finish.
Practice on scrap fabric before sewing onto the actual shirt to get a hang of the technique.
Experiment with different fabric textures, patterns, and colors to add uniqueness to your design.
Consider using fabric glue or fusible webbing for a no-sew option. Follow the product instructions for proper application.
Choose a needle size appropriate for your fabric. A smaller needle works well with lightweight fabrics, while a larger needle suits thicker fabrics.
3 thoughts on “How To Sew Fabric Onto A Shirt”
Love this! Been wanting to learn how to do this for a while.
Henri Degas: Great tutorial! Just what I needed.
Great tutorial for a useful skill that brings your wardrobe to the next level! Learn how to make your shirts one-of-a-kind and truly your own.
Highly recommend giving it a try! It’s a bit of a challenge, but the results can be totally worth it.
Learning something new is always exciting and this looks like a fun and creative way to add personal touches to shirts. Count me in!