Step-by-Step Guide
-
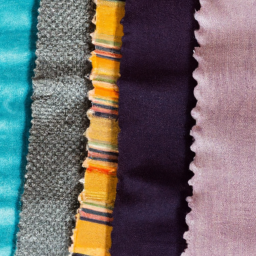
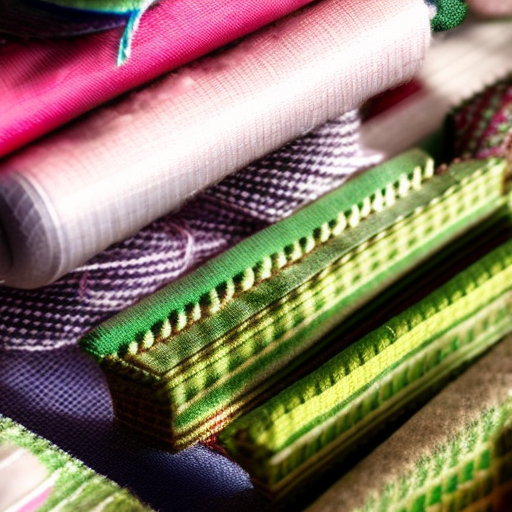
Choose a fabric that will suit your shirt and the desired lettering design.
-
Draw or print out the letters you want to sew, making sure they are the correct size for your shirt and design.
-
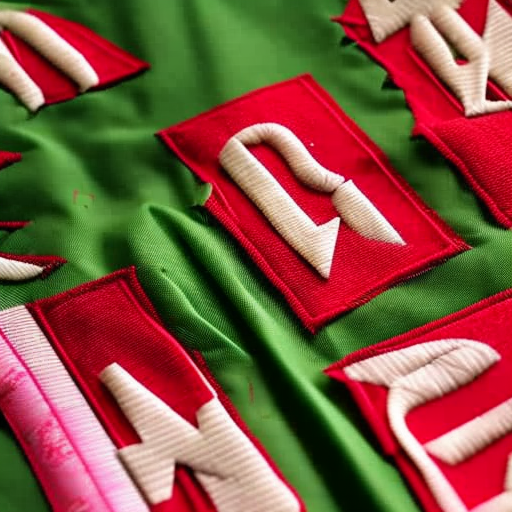
Place the fabric letters on the shirt in the desired position. Use pins or fabric adhesive to secure them in place.
-
Thread a needle with a thread color that matches the fabric letters.
-
Start sewing by using a basic stitch, such as the running stitch or backstitch, along the outline of the letters. Make sure to sew through both the fabric letters and the shirt fabric.
-
Continue sewing until you have completed the outlines of all the letters.
-
Secure any loose threads by knotting them at the back of the fabric.
Tips and Tricks
-
Use embroidery floss instead of regular sewing thread for a more vibrant and decorative look.
-
Practice your sewing technique on a scrap piece of fabric before starting on the shirt to ensure neat and even stitches.
-
Consider using a fabric stabilizer or hoop to hold the fabric taut while sewing, especially for delicate or stretchy shirt fabrics.
-
Experiment with different lettering styles, such as block letters, script fonts, or even embroidery designs, to create unique and personalized shirts.
-
Take your time and sew at a comfortable pace to avoid mistakes or uneven stitches.
With these simple steps and helpful tips, you can easily sew fabric letters onto your favorite shirt, allowing you to showcase your creativity and style. Happy sewing!


Great tutorial!
Great idea for a unique shirt design! #fabricletters #handywork #sewing#fashion
Such an awesome and creative way to customize a shirt! Definitely a great way to express yourself! #DIY #fashion #sewyourown
This looks like it’s going to be so much fun! Can’t wait to try it! #diy #sewing #creative