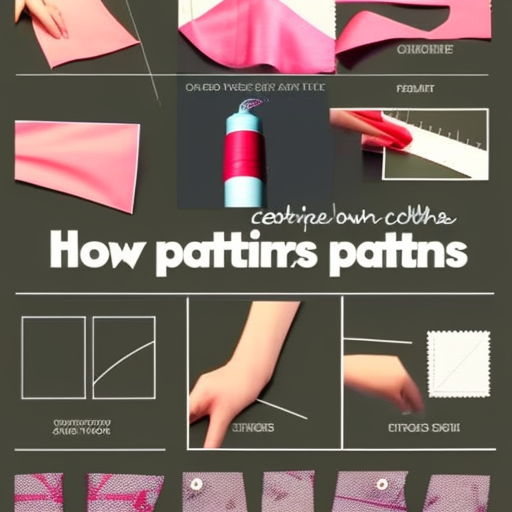
Sewing your own clothes allows you to have unique and personalized garments that fit perfectly. Part of the sewing process involves creating patterns, which serve as templates for cutting and assembling the fabric. Making your own patterns may seem overwhelming at first, but with a few basic steps, you can easily create patterns that suit your style and measurements. Here’s a guide on how to make patterns for sewing your own clothes.
1. Start with Accurate Measurements
Before you can create patterns, it is crucial to take accurate measurements of your own body. Measurements should include bust, waist, hips, shoulder width, arm length, and any other areas specific to the garment you want to sew. Use a measuring tape and note down the measurements in inches or centimeters. These measurements will be the basis for creating your patterns.
2. Select a Base Pattern
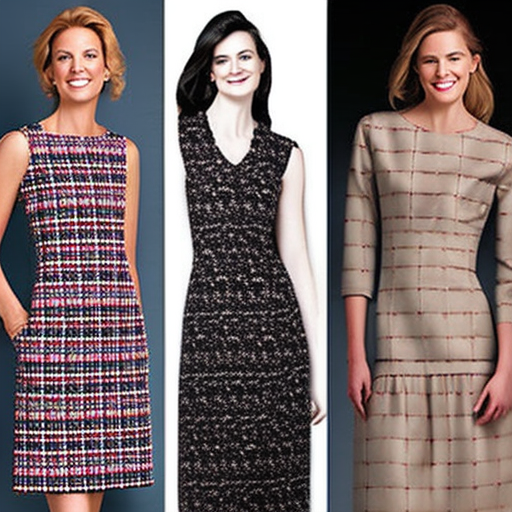
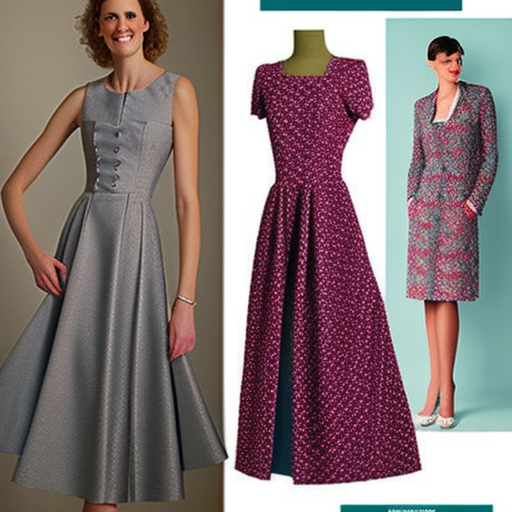
If you are new to pattern making, it’s helpful to start with a base pattern similar to the style you want to sew. Look for commercial patterns or free patterns available online. Select a pattern that closely matches your body measurements, as this will serve as the foundation for your customized patterns.
3. Trace and Modify the Base Pattern
Using tracing paper or pattern paper, carefully trace the base pattern onto a flat surface. You can use weights or pins to keep it in place. Once traced, compare the measurements of the base pattern with your own body measurements. Depending on your size and desired fit, you may need to make adjustments by adding or subtracting inches at specific areas.
4. Add Seam Allowance
When creating your patterns, it’s important to consider the seam allowance. This is the extra fabric you need to add along the seams to allow for sewing and finishing. Typically, a 5/8 inch (1.5 cm) seam allowance is common in most sewing projects. Use a ruler or a specialized pattern tool to add the seam allowance to your traced pattern. Make sure to mark the seam allowance clearly on all edges of the pattern.
5. Test and Adjust
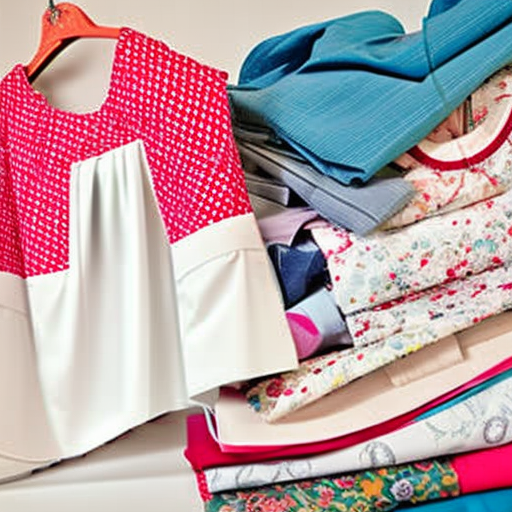
Once you have created your custom pattern, it’s advisable to make a test garment or a muslin prototype before cutting into your final fabric. Muslin fabric is inexpensive and allows you to check the fit and make any necessary adjustments without wasting your desired fabric. Use the muslin prototype to test the pattern on your body and assess if any further modifications are needed.
6. Transfer and Store Your Patterns
After you are satisfied with the fit and design of your pattern, transfer it onto sturdier paper or cardboard for long-term use. You can also trace the pattern onto pattern drafting paper or use a pattern drafting software for digital storage. Make sure to label the pattern with relevant information such as garment name, size, and any additional notes you may need.
Making patterns for sewing your own clothes may initially require patience and practice, but it can be an incredibly rewarding and creative endeavor. With time, you’ll develop your own style and techniques to create unique garments that perfectly suit your personality and body shape.

Super helpful tutorial for my next project! #crafts #sewing
Nate Horton: What an amazing idea! Can’t wait to check this out! #sewing
This looks like a fantastic tutorial for anyone looking to dive into sewing their own clothes! #sewing #DIY #crafts
I love the creative way of making something new! Can’t wait to give this a try. #crafts #sewing
It’s a great resource for beginners and experts alike! Perfect for making custom pieces! #sewing #DIY #crafts
I’m so eager to try this out! Seems like a great way to create something unique and creative. #sewing #DIY #crafts
Great resource for learning how to create unique garments! #sewing #DIY #crafts
Super interesting and I love the creativity involved! #sewing #DIY #crafts