As crafting and DIY projects become increasingly popular, one skill that is essential for creating unique and personalized creations is drawing sewing tools. Whether you are an aspiring fashion designer, a crafting enthusiast, or simply looking to expand your artistic abilities, being able to draw sewing tools can add an extra element to your designs. In this article, we will guide you through the steps of drawing various sewing tools using simple and easy-to-follow techniques.
First and foremost, it is essential to gather all the necessary materials before beginning your drawing. These may include a pencil, eraser, sharpener, ruler, and different types of paper. It is important to have a variety of paper types for practice, such as sketch paper, tracing paper, and watercolor paper, to experiment with different techniques and textures.
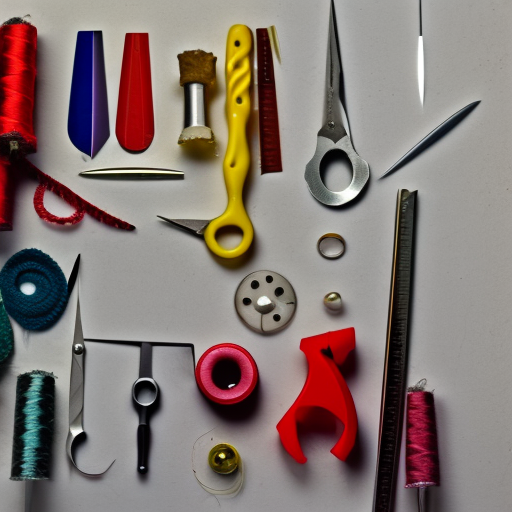
The first tool we will explore is the sewing needle. Start by drawing a straight line with your pencil, making sure it’s long enough to represent the length of the needle. Then, using the ruler, draw two parallel lines on either side of the first line, leaving a small space between each line. This will create the needle’s shape. Next, add a slanted line on one side of the needle to indicate the sharpness of the point. You can also add a tiny circle at the other end to represent the eye of the needle. Finally, erase the initial straight line, leaving you with a realistic-looking sewing needle.
Moving on to scissors, start by drawing two horizontal lines that are slightly curved in the middle to represent the blades. Then, add two curved lines at the base of the blades for the handles. You can make the handles more detailed by sketching a small circle where the fingers would grip the scissors. For added realism, you can draw two small circles at the base of the blades to indicate the screws that connect the blades. Finish off by adding a small line in between the handles for the screw that keeps the two blades together.
Now, let’s move on to the thread spool. Begin by drawing a small rectangle for the base of the spool. Then, add a larger rectangle on top, making sure to leave a small space in between. This will create the shape of the spool. Next, using your pencil, draw a line that spirals around the spool to represent the thread. You can add more detail by drawing a small circle on top of the spool to represent the thread hole. Finally, add a thin layer of lines around the spool to create the illusion of thread being wrapped around it.
For drawing buttons, start by drawing a simple circle using a compass or a circular object of your choice. Then, add four small holes in the center of the circle for the button’s thread. For added detail, you can draw a line around the button’s edges to give it depth. You can also experiment with different sizes and shapes to create a variety of buttons.
Last but not least, let’s tackle the sewing machine. Begin by drawing a rectangular shape for the sewing machine’s body. Then, add a smaller rectangle on top of the body to represent the sewing machine’s handle. Next, add a smaller rectangle on each side of the body for the base of the sewing machine’s arms. You can also add a few buttons and dials on the body for added detail. Lastly, using a ruler, sketch out the machine’s arms and the needle attached to it. Make sure to add the thread that connects the needle to the spool near the base of the machine.
Drawing sewing tools can be an enjoyable and rewarding experience. With the right techniques and attention to detail, you can create realistic and intricate designs of these essential tools. Feel free to experiment with different colors, textures, and paper types to add a unique touch to your drawings. With practice, you will be able to draw sewing tools with ease and add a special touch to your art and design projects. So grab your pencils and paper, and start drawing and creating!

So excited to try this out!
Carol Blume: Great tutorial, thank you!
Megan Ward: This looks like so much fun!
This looks like a fantastic way to learn how to draw sewing tools, an impressive and creative tutorial! I’m sure it will help many people get into this type of art, and I cannot wait to try it out! #drawing #art #tutorial