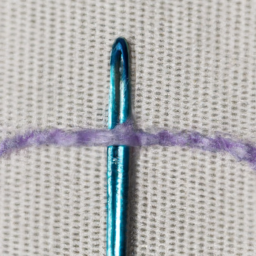
How to Adjust Stitches on Sewing Machine
Introduction
Mastering the art of sewing requires understanding the various components and functions of your sewing machine. One important aspect is knowing how to adjust stitches on your machine. Whether you are a beginner or a seasoned sewist, being able to customize your stitches is essential in achieving the perfect end result. In this article, we will guide you through the process of adjusting stitches on your sewing machine.
Understanding Stitch Length and Width
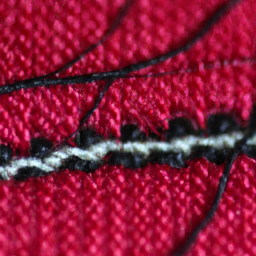
Before delving into the adjustment process, it’s crucial to grasp the concepts of stitch length and width. Stitch length refers to the distance between each stitch, while stitch width determines the width of the stitch from side to side. These two factors greatly affect the appearance and durability of your sewing projects.

Locating Stitch Adjustment Controls
Every sewing machine has different controls, so it’s important to familiarize yourself with your specific model. In general, stitch adjustments can be found on the front or side of the machine. Look for knobs or buttons labeled “Stitch Length” and “Stitch Width.” Some machines may also have a control for stitch style or pattern selection.

Adjusting Stitch Length
To adjust the stitch length, locate the corresponding control on your machine. Turn the control towards the “+” sign for longer stitches or towards the “-” sign for shorter stitches. It’s recommended to test different stitch lengths on a scrap fabric until you achieve the desired outcome.
Adjusting Stitch Width
To modify the stitch width, find the stitch width control on your machine. Similar to adjusting stitch length, turning the control towards the “+” sign will increase the width, while turning it towards the “-” sign will narrow the stitch width. Play around with different settings on a fabric scrap to determine the best width for your project.
Using Stitch Pattern Selection
If your sewing machine offers different stitch patterns, explore their potential by using the pattern selection control. This allows you to choose from a wide range of decorative and functional stitching options. Experiment with various patterns to add a unique touch to your projects.
Finishing Touches
Once you have adjusted the stitch length, width, and pattern to meet your requirements, it’s time to start sewing! Remember to test your settings on a fabric scrap before working on your actual project. Fine-tuning the stitches ensures a professional finish and prevents any unnecessary mistakes.
Great advice, thank you! #sewingtutorial
Charlotte Bowman: Saved my life! #sewingtutorialsuperstars
Wow, this post looks incredibly helpful – it can be tricky to get it just right, so it’s great to have clear instructions that show you how to adjust those stitches! #sewingmasters