Introduction
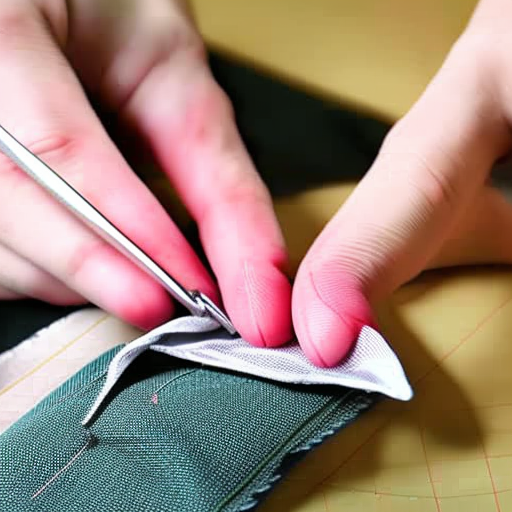
When it comes to mending tears, fixing loose buttons, or repairing small holes, hand sewing can be a lifesaver. With a few basic techniques, you can extend the life of your clothing and save money on costly repairs. In this article, we will explore some essential hand sewing repair techniques that every DIY enthusiast should have in their arsenal.
1. Thread Selection
Choosing the right thread is crucial for a strong and inconspicuous repair. Take into consideration the fabric you are working with, as well as the color of the garment. Cotton threads are suitable for lightweight fabrics such as cotton and linen, while polyester threads are better for synthetic materials like nylon or polyester blends.
Ensure that the thread color matches the original thread as closely as possible to achieve a seamless finish.
2. Basic Stitches
Mastering a few stitches will allow you to tackle most sewing repairs effectively:
-
Straight Stitch
The straight stitch is a versatile stitch that is great for simple repairs like reattaching buttons or hemming. Simply insert your needle through the fabric, forming a straight line, and pull the thread through.
-
Running Stitch
The running stitch is another basic stitch that is useful for repairing tears or securing fabric layers. It involves passing the needle in and out of the fabric, creating a running line of stitches.
-
Backstitch
The backstitch is stronger and more secure, suitable for repairing seams or reinforcing weak areas. Start by making a small stitch backward, then stitch forward, repeating the process along the repair line.
3. Patching Holes
Holes in garments can be fixed by patching with a piece of fabric. The steps to patching include:
- Trimming loose threads around the hole to prevent further unraveling.
- Placing the patch behind the hole and securing it in place with pins.
- Using a straight stitch or backstitch to sew along the edges of the patch and blend it with the original fabric.
- Trimming excess fabric and threads for a neat finish.
4. Securing Loose Buttons
Buttons can be sewn back onto garments using a needle and thread. Follow these steps for a secure attachment:
- Positioning the button in place.
- Passing the needle through one hole of the button and then through the fabric.
- Bringing the needle back up through another hole and then through the fabric again, creating a crisscross pattern.
- Repeating the process several times, ensuring a tight hold.
- Tying a knot at the back of the fabric to secure the thread.
