Cute Tote Bag
Looking for a fun and useful sewing project? Why not create your very own “Cute Tote Bag” to carry all your essentials? This simple tutorial will guide you through the process step by step.
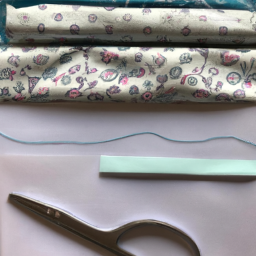
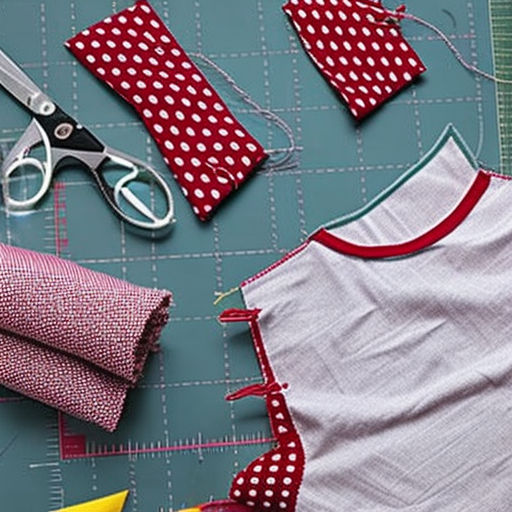
Step 1: Gather the Supplies

First, gather all the necessary supplies: fabric, scissors, pins, a sewing machine, and thread.
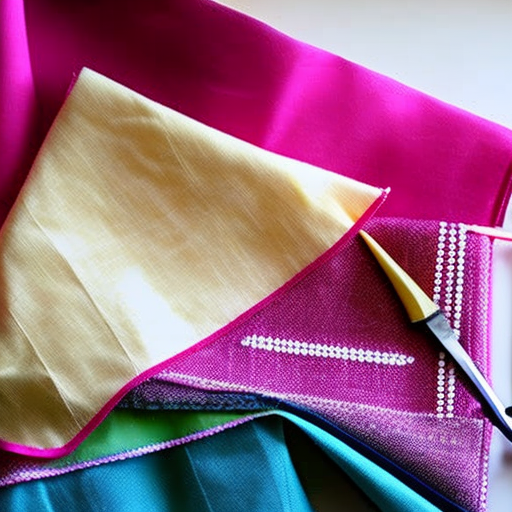
Step 2: Cut the Fabric

Measure and cut two equal-sized rectangles from your chosen fabric. These will form the front and back of your tote bag.
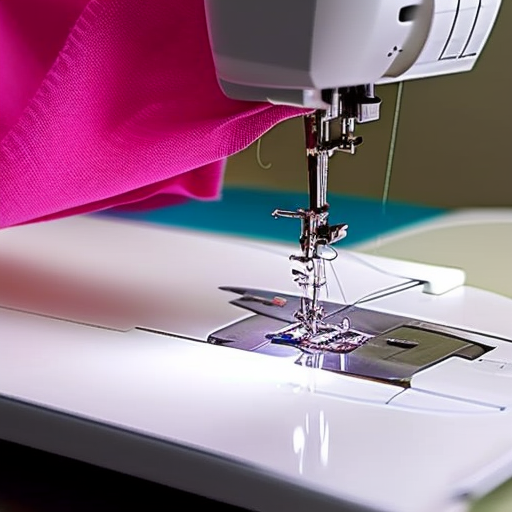
Step 3: Sew the Sides

Place the fabric pieces together, right sides facing each other. Pin the sides, then sew along the edges, leaving the top open.
Step 4: Create the Handles

Measure and cut two long strips of fabric for the handles. Fold each strip in half lengthwise and sew along the edge to secure.
Step 5: Attach the Handles

Position the handles on the inside of the bag and sew them securely to the top edge.
Step 6: Finish the Tote Bag

Turn the bag right-side-out and give it a final press. Trim any loose threads, and voila! Your cute tote bag is ready to use.
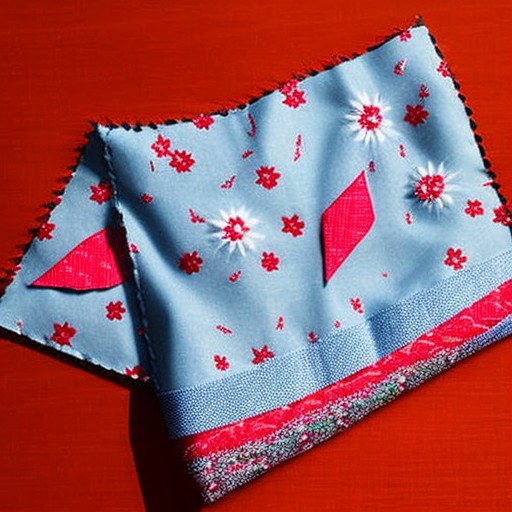
Comfy Pillow Case
Need a new pillowcase for your bedroom? This “Comfy Pillow Case” sewing project is super easy and will give your pillows a fresh look. Follow the instructions below:
Step 1: Choose the Fabric

Select a soft and comfortable fabric that matches your bedroom decor.
Step 2: Measure and Cut

Measure your pillow dimensions and add a few inches for seam allowance. Cut one rectangular piece according to these measurements.
Step 3: Hem the Edges

Fold and iron a small hem along one of the shorter edges of the fabric. Sew it in place using a straight stitch.
Step 4: Create an Overlapping Flap

Fold the fabric in half horizontally. Sew the sides together, starting from the hemmed edge. Leave the other shorter edge open to create a flap.
Step 5: Finishing Touches

Turn the pillowcase right-side-out and press it to remove any wrinkles. Slip your pillow inside, tuck the flap in, and enjoy your comfy pillowcase.
Stylish Headband
Want to add a fashionable accessory to your wardrobe? This ”Stylish Headband” project is perfect for beginners. Get creative with your fabric choices and follow these steps:
Step 1: Prepare Your Fabric

Choose a fabric that complements your style and cut a wide strip, long enough to wrap comfortably around your head.
Step 2: Fold and Sew

Fold the strip in half lengthwise with the right sides facing each other. Sew along the long raw edge, leaving the shorter ends open.
Step 3: Turn Inside Out

Tuck one end of the sewn fabric inside itself, turning the headband right-side-out.
Step 4: Sew the Ends

Sew the open ends together, making sure to secure the fabric layers. Trim any excess thread.
Step 5: Rock Your Headband

Put your stylish headband on and show off your unique creation! Experiment with different fabrics and widths to match various outfits.

Awesome! I can’t wait to try these out. #sewing
This looks like a great way for beginners and experts alike to enjoy some creative, engaging hobbies! There’s something special about making something from scratch and these sewing projects give us all the tools we need including thorough instructions! #DIY #SewFun