Easy Sewing Projects: Drawstring Bag
If you are new to sewing or just looking for a quick and versatile project, making a drawstring bag is a perfect choice. Drawstring bags are not only practical, but they can also be customized to suit your own personal style.
Instructions:
-
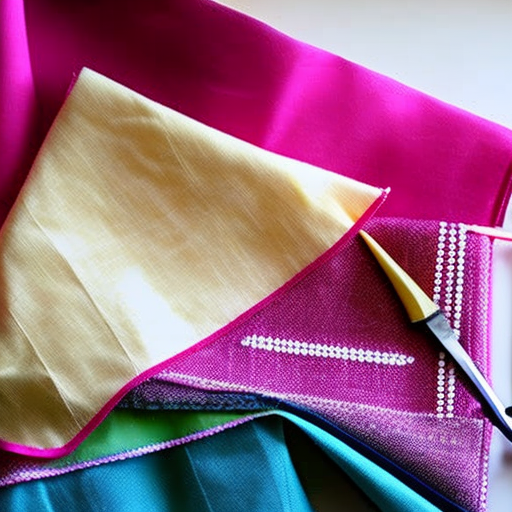
- Start by choosing a fabric that you love. You will need two coordinating pieces, each measuring approximately 16×20 inches.
-
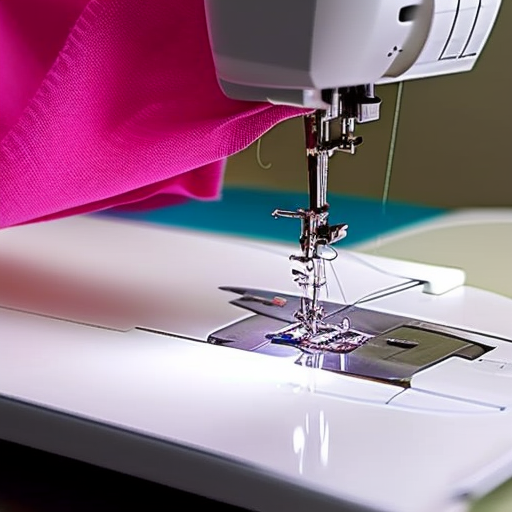
- Place the fabric pieces right sides together and pin around the edges to secure.
-
- Using a sewing machine or needle and thread, stitch around the edges leaving a small opening for turning.
-
- Trim the corners and turn the bag right side out through the opening. Press the edges with an iron.
-
- Next, fold down the top edges of the bag about an inch and press it flat.
-
- To create the drawstring casing, stitch along the folded edge, leaving a small opening to thread the drawstring through.
-
- Cut two pieces of ribbon or cord, each measuring approximately 30-36 inches long. Attach a safety pin to one end of each piece and thread them through the casing, making sure they come out from the other end.
-
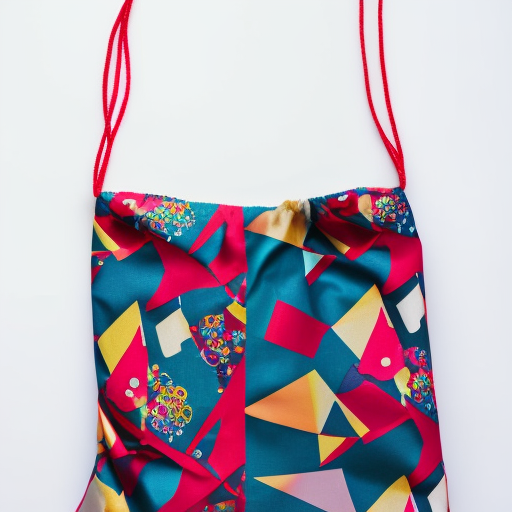
- Knot the ends of the drawstring to prevent them from sliding out, and your drawstring bag is complete!
Feel free to experiment with different fabrics, adding appliques, or embellishments to make your drawstring bag unique. These bags are great for storing small items, organizing travel essentials, or even as gift bags for special occasions.
For more detailed instructions and visual guidance, check out this video tutorial that walks you through the step-by-step process of making a drawstring bag.
Start your sewing journey with this easy project and enjoy the satisfaction of creating something useful and beautiful!

Super cute bag! I’d love to try it! This is a super fun and easy way to make a stylish and practical accessory! You can make this bag in a variety of sizes and colors to customize it to your needs.