
Easy Sewing Project: Jumpsuit

The jumpsuit trend has taken the fashion world by storm in recent years, and it’s not hard to see why. This versatile one-piece garment combines style and comfort, making it a go-to choice for many fashion-forward individuals. If you have basic sewing skills and want to try your hand at creating your own jumpsuit, you’re in luck! This article will guide you through an easy sewing project to make your very own jumpsuit.
Materials Needed:
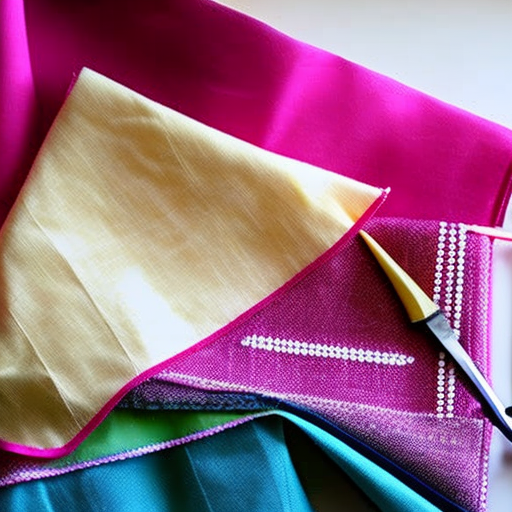
- Fabric (of your choice) - 2.5 to 3 yards
- Elastic – 1 inch wide
- Thread
- Scissors
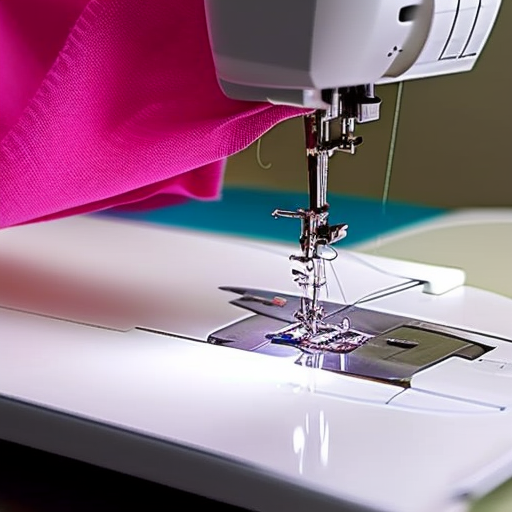
- Sewing machine
- Pins
- Measuring tape
- Iron
- Pattern (optional)
Step 1: Take Measurements
Start by taking your measurements accurately. You will need to measure your bust, waist, hips, and the length from your shoulder to your ankle. These measurements will help you create a jumpsuit that fits you perfectly.
Step 2: Create a Pattern (Optional)
If you’re comfortable with pattern-making, you can create a pattern based on your measurements. This step is optional, as you can also use a store-bought pattern or even trace an existing jumpsuit that fits you well.
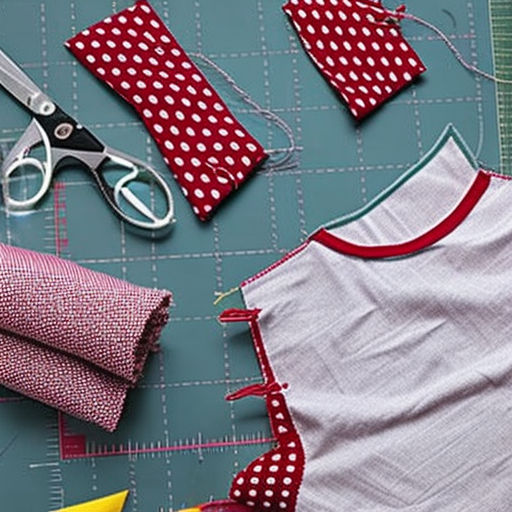
Step 3: Cut the Fabric
Using your pattern or measurements, cut the fabric accordingly. Remember to leave some extra fabric for seam allowances. Cut out the front and back pieces of the jumpsuit, as well as two long strips to make the waistband.
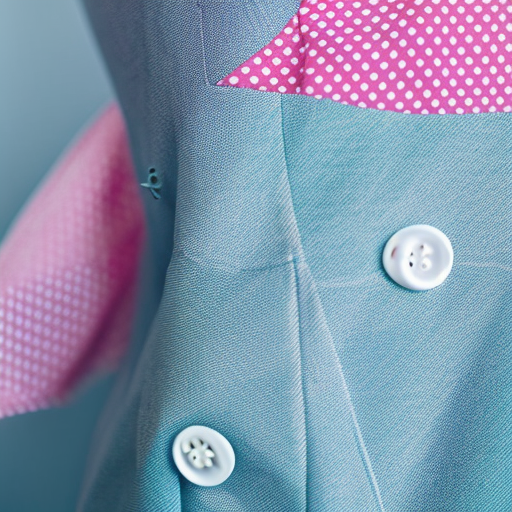
Step 4: Sew the Pieces Together
Start by sewing the front and back pieces together at the shoulders and sides. Make sure to sew with the right sides of the fabric facing each other and finish the seams neatly using a serger or zigzag stitch.
Step 5: Sew the Waistband
Take the two long strips you cut for the waistband and fold them in half lengthwise, with the wrong sides facing each other. Sew the long edges together, leaving about a 2-inch gap to insert the elastic later.
Step 6: Attach the Waistband
Place the waistband over the jumpsuit, aligning the raw edges with the waistline. Pin and sew them together, stretching the waistband slightly as you sew. Be careful not to stretch the jumpsuit fabric.
Step 7: Insert the Elastic
Using a safety pin or a bodkin, insert the elastic through the gap in the waistband. Hold the elastic at one end and gather the fabric until it fits your waist comfortably. Sew the ends of the elastic together securely and close the gap in the waistband.
Step 8: Finish the Hem
Try on the jumpsuit and determine the desired length. Hem the bottom of the jumpsuit by folding the fabric twice and sewing it in place.
Step 9: Finishing Touches
Lastly, make any necessary adjustments and finish any raw edges throughout the garment. Give the jumpsuit a final press with an iron to ensure a neat and professional look.
Congratulations! You have completed your very own jumpsuit sewing project. With a little practice, you can experiment with different fabrics, patterns, and styles to create jumpsuits that suit your personal taste.
Now, go ahead and rock your handmade jumpsuit with confidence and style!

Looks so cute!
Kaleigh Myers: This looks like a fun project for a beginner!
This project looks totally adorable and like a great way to get started if you’re a beginner! It’s amazing how you can make a stylish jumpsuit with a few simple stitches! #sewing #beginnerproject #jumpsuitsrock
Absolutely incredible! This looks like the perfect project and I can’t wait to start it! #beginnerseamster #jumpingforjoy
Wow, this looks amazing! I’m going to give this a try for sure. #crafty #newseamstress