Introduction
Learning basic sewing stitches is an essential skill for anyone interested in sewing and crafting. These stitches form the foundation for various sewing techniques and can be used to create beautiful garments, accessories, and even home decor items. Mastering a few basic stitches will enable you to mend and create a wide range of projects.
Straight Stitch
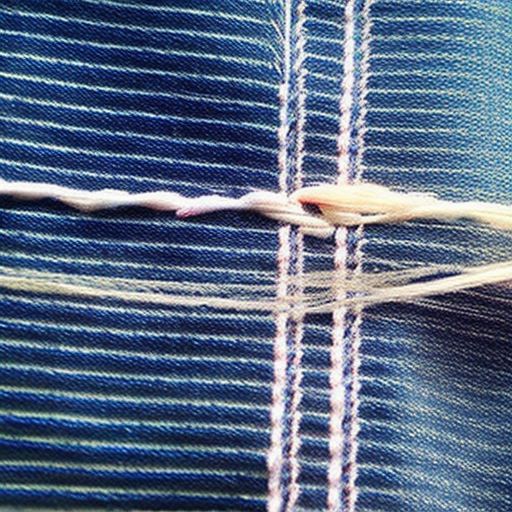
The straight stitch is the simplest and most common sewing stitch. It is used for most sewing projects, such as joining fabrics together, attaching buttons, and hemming garments. To create a straight stitch, follow these steps:
- Thread your needle and knot the end of the thread.
- Insert the needle into the fabric from the backside, bringing it up at the starting point of your stitch.
- Pull the needle and thread through the fabric, creating an even length of stitch.
- Insert the needle back into the fabric at the desired distance, creating a straight line of stitches.
- Continue stitching until the desired length is reached.
- Secure the end of the stitch by creating a knot on the backside of the fabric.
Backstitch
The backstitch is a stronger variant of the straight stitch, often used for seams and mending tears. It reinforces the stitching line, making it more durable. Here are the steps to create a basic backstitch:
- Thread your needle and knot the end of the thread.
- Insert the needle into the fabric from the backside, bringing it up at the starting point of your stitch.
- Pull the needle and thread through the fabric, leaving a small tail on the backside.
- Reinsert the needle a short distance away from the starting point, guiding it back through the fabric towards the initial point.
- Bring the needle up slightly ahead of the previous stitch and repeat the process, creating a continuous line of stitches.
- Continue stitching until the end of the seam or mend.
- Secure the end of the stitch by creating a knot on the backside of the fabric.
Zigzag Stitch
The zigzag stitch is a versatile stitch used for finishing raw edges, preventing fabric fraying, and adding decorative trims. It creates a zigzag pattern by alternating between forward and backward stitches. Here’s how to create a basic zigzag stitch:
- Thread your needle and knot the end of the thread.
- Insert the needle into the fabric from the backside, bringing it up at the starting point of your stitch.
- Pull the needle and thread through the fabric, forming the first forward stitch.
- Reinsert the needle slightly ahead and to the side of the initial point.
- Bring the needle back down at the starting point, creating a backward stitch.
- Repeat the process, creating a continuous zigzag line.
- Continue stitching until the desired length is achieved.
- Secure the end of the stitch by creating a knot on the backside of the fabric.
Conclusion
Mastering basic sewing stitches allows you to explore the world of sewing and tap into your creativity. Whether you are a beginner or an experienced sewer, knowing these foundational stitches will empower you to mend, alter, and create beautiful garments and crafts. So grab your needle and thread, practice these stitches, and unlock endless possibilities!
So good to learn a new skill
Katie Walker: Great place to start!
Agreed! Learning the basic sewing stitch is a great way to jump start a whole host of new projects; plus, it’s a skill that you’ll use over and over again.
I’m so excited to try out this new skill!
Absolutely! Plus, it never hurts to learn the basic principles behind sewing.