 hem” />
Introduction
Sewing a hem is a fundamental skill for anyone interested in sewing. Hems can be found on various garments and are used to provide a clean and finished look while also preventing fabric edges from fraying. This article will guide you through the process of sewing a hem, step by step.
Materials Needed
- Sewing machine
- Thread
- Needles suitable for your fabric
- Fabric marker or chalk
- Scissors
- Pins
- Iron and ironing board
Steps to Sew a Hem
- First, measure the desired hemline and mark it using a fabric marker or chalk. Use a ruler or measuring tape to ensure accuracy.
- Next, fold the fabric up at the marked hemline, wrong sides together. Press the fold gently with an iron to create a crisp crease.
- Pin the hem in place, inserting pins vertically along the folded edge. This will keep the fabric secure and prevent it from shifting while sewing.
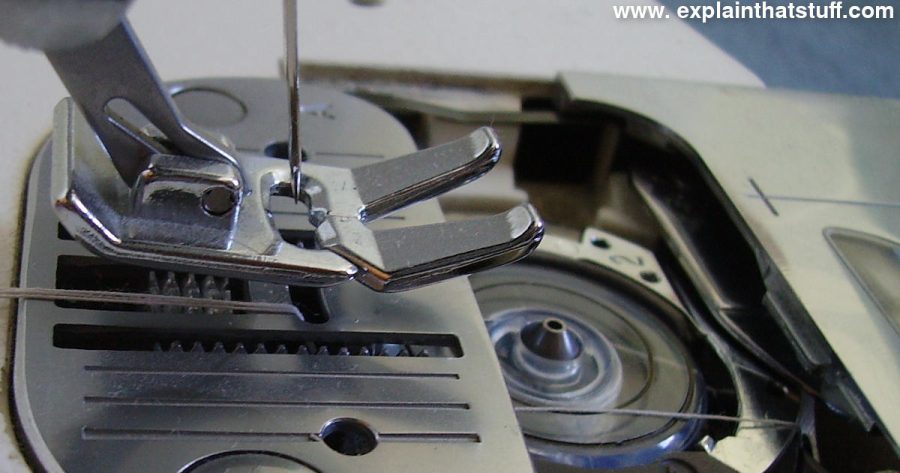
- Select a straight stitch on your sewing machine and adjust the stitch length to your preference. Generally, a 2.5-3mm stitch length is suitable for hemming.
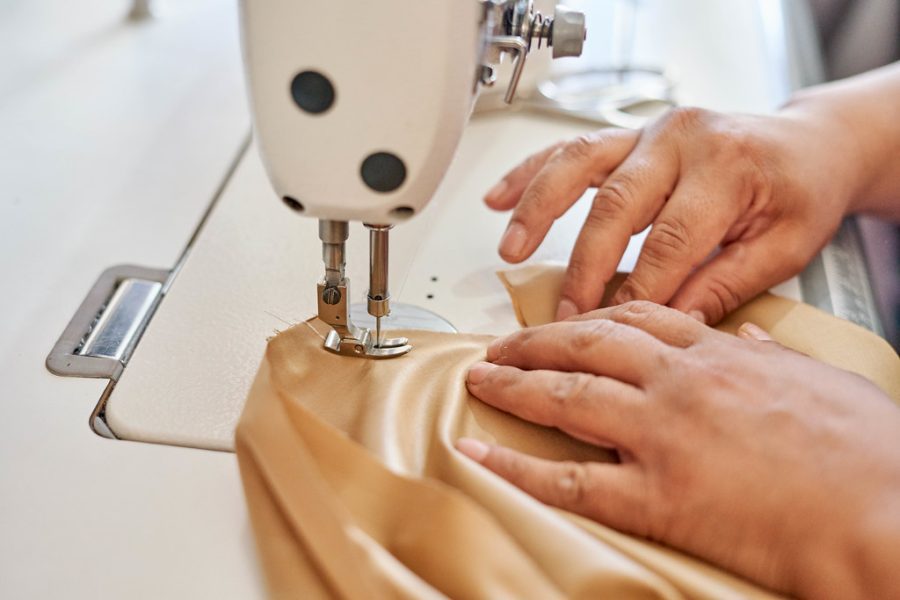
- Starting at one side of the fabric, sew along the folded edge, removing pins as you go. Maintain a steady pace and keep the fabric aligned with the presser foot for straight stitching.
- Once you reach the end, backstitch a few stitches to secure the hem in place. Cut the thread and remove the fabric from the machine.
- Press the hem again with an iron to give it a professional finish. Be careful not to press too hard, to avoid leaving shiny marks on the fabric.
- Finally, trim any excess fabric beyond the stitched line, leaving a small seam allowance. This step is optional but can reduce bulk and improve the overall appearance of the hem.
Conclusion
Sewing a hem is an essential skill every sewist should master. With the right tools and a bit of practice, you can achieve beautifully finished hems on various garments. Remember to take your time, measure accurately, and press your hems for a polished look. Happy sewing!


