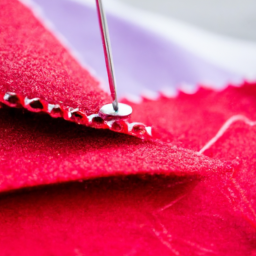
Adding fabric to jeans is a great way to enhance your style and add a unique touch to your clothing. Whether you want to patch up a hole or simply create a stylish accent, sewing fabric onto jeans is a fun and rewarding DIY project.
Step 1: Gather the materials
To get started, you will need:
- Fabric of your choice
- A pair of jeans
- Scissors
- Needle and thread
- Pins
Step 2: Preparing the jeans
Before sewing, make sure to prewash and iron the jeans to ensure the best results. Lay the jeans flat on a table or any other flat surface.

Step 3: Cut and position the fabric
Measure the damaged area or the desired fabric placement and cut a piece of fabric accordingly. Pin the fabric in place, ensuring it covers the designated area properly.

Step 4: Sewing
Thread the needle and tie a knot at the end. Starting from the inside of the jeans, carefully stitch the fabric to the jeans. Use small, even stitches and maintain an appropriate tension. Continue sewing until the fabric is completely attached.

Step 5: Finishing touches
Trim any excess fabric and secure the thread by knotting it from the inside. You can also add decorative stitches or embroidery for an extra touch.

Step 6: Final steps
Once you’re satisfied with the sewing, give your jeans a final press with an iron to ensure a polished look.
Congratulations! You’ve successfully sewn fabric onto your jeans. Now go ahead and rock your custom-designed denim with pride!


Love crafty projects like this! #FabricLove
Great idea! I’m sure it will look amazing when it’s all finished. #MakingThingsLookGood