
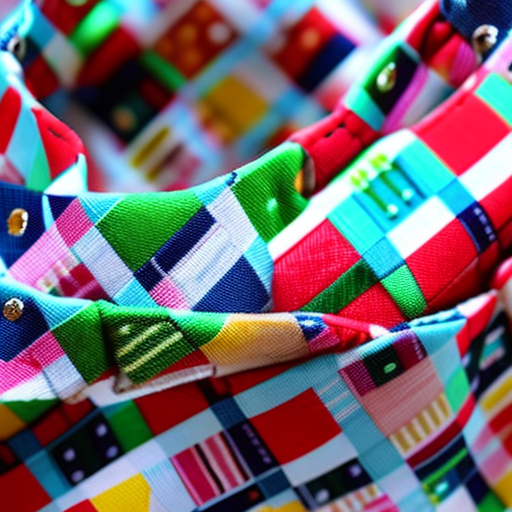
If you want to add some style to your furry friend’s look, why not make a fabric dog collar? It’s a fun and simple sewing project that allows you to customize the collar to match your dog’s personality.

Materials:
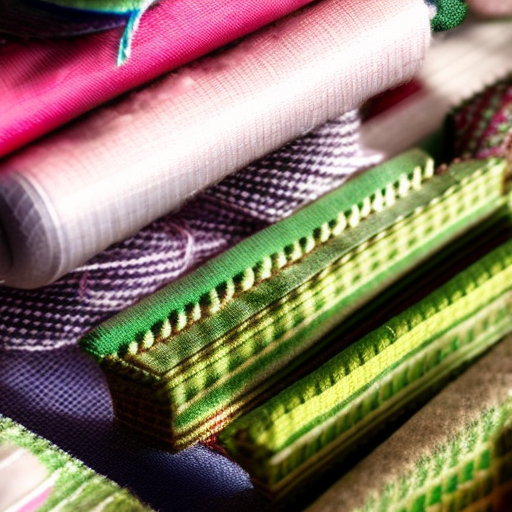
- Fabric of your choice
- Heavy-duty nylon webbing
- Plastic or metal buckle
- D-rings
- Measuring tape
- Scissors
- Sewing machine or needle and thread
Steps to Sew a Fabric Dog Collar:
Step 1: Measure your dog’s neck
Using a measuring tape, measure your dog’s neck to determine the appropriate length for the collar. Add a couple of inches to allow for adjustability.
Step 2: Cut the fabric and webbing
Using the measurements from step 1, cut a strip of fabric and nylon webbing to the desired length. The fabric strip should be wide enough to cover the webbing when folded.
Step 3: Sew the fabric and webbing
Place the fabric strip right side down and center the webbing on top. Fold the fabric over the webbing, tucking the edges in, and pin everything together. Sew along the edges to secure the fabric and webbing in place.
Step 4: Attach the hardware
Attach the buckle to one end of the collar by sewing it onto the webbing. Then, thread the D-rings onto the webbing and fold the end over. Sew across the end to secure the D-rings in place.
Step 5: Adjust and finish
Adjust the collar to the desired size by sliding the webbing through the D-rings. Finally, trim any excess fabric or thread and give the collar a test run on your dog!
Now your dog can rock a stylish and unique fabric collar made with love. Remember to choose fabrics that are comfortable and easy to clean, and always supervise your dog while wearing a collar.


Love it! #cutedogcollars
So practical for a special pup – perfect for a homemade project to customize their look and make it extra special!
What a great idea!
This is such a creative and useful idea! Whether you’re using it to make a one of a kind gift or customizing a collar for your own pup, this DIY project is sure to make any pup look stylish and feel loved.