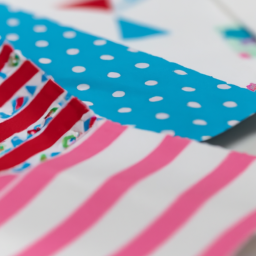

Do you often find yourself with a collection of fabric scraps but aren’t sure what to do with them? Instead of throwing them away, why not put those scraps to good use by sewing them together to create something new and unique? Whether you want to make a quilt, a patchwork bag, or even a colorful wall hanging, sewing fabric scraps together is a fun and rewarding craft project.
Step 1: Gather Your Fabric Scraps
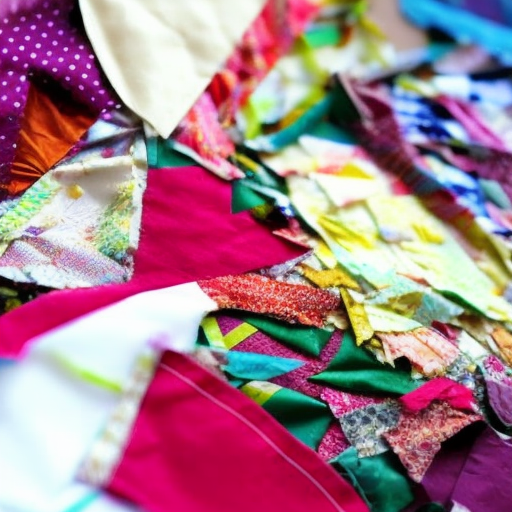
Start by gathering fabric scraps of various colors, patterns, and textures. Look through your fabric stash, or even ask friends and family if they have any scraps they are willing to part with. Remember, the more diverse the scraps, the more interesting your final piece will be.

Step 2: Prepare the Scraps
Once you have your fabric scraps, sort them by size and trim any loose threads or uneven edges. This step ensures that your final project looks neat and well-crafted.

Step 3: Arrange and Organize
Take some time to lay out your fabric scraps and arrange them in a way that is visually appealing to you. Experiment with different combinations and patterns until you find a layout that you love.

Note: This step is especially important if you’re making a quilt or patchwork project.
Step 4: Sewing it All Together
Now comes the exciting part - sewing your fabric scraps together! Whether you prefer hand sewing or using a sewing machine, start by carefully pinning the scraps together to create straight seams. Then, stitch along the pinned lines, ensuring that your stitches are secure and even.

Step 5: Finishing Touches
Once you have sewn all your fabric scraps together, take a moment to admire your creation. If desired, you can add additional decorative elements such as lace trim, embroidery, or buttons to enhance the overall look.

Now that you know how to sew fabric scraps together, the possibilities are endless. You can create unique quilts, colorful pillow covers, stylish tote bags, or even repurpose fabric scraps into beautiful patchwork clothing. Not only will you reduce waste, but you’ll also have a handmade item that showcases your creativity and love for DIY projects.
So, rather than letting those fabric scraps go to waste, gather them up, follow these steps, and watch as your pile of unused fabric transforms into a beautiful and functional work of art!
Note: Images used in this article are for illustrative purposes only and are not meant to represent specific fabric scraps or finished projects.
What a great way to upcycle fabric scraps!
Creating this type of art is so rewarding.
#ThatRecycledLife
What a creative way to reuse those scraps! It’s so wonderful to see how you can take something that most people would toss away and turn into something unique and beautiful. This is a great reminder that getting creative with what you already have can create something special. #UpcyclingAtItsFinest
Wow! What a great way to give fabric scraps a second life. Love seeing this type of creativity! #RecyclingRocks
Amazing! Upcycling can go a long way in helping to reduce waste and that is something we should all strive for. Great job on this creative project! #LivingGreen