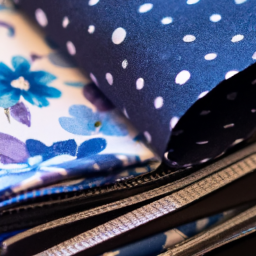

Step 1: Gather the materials
- Fabric in rainbow colors (red, orange, yellow, green, blue, purple)
- Scissors
- Thread and needle or sewing machine
- Pins
- Iron and ironing board
Step 2: Cut fabric into strips
Measure and cut fabric into strips of equal width. The number and width of the strips can vary depending on the size of the rainbow you want.
Step 3: Arrange the strips
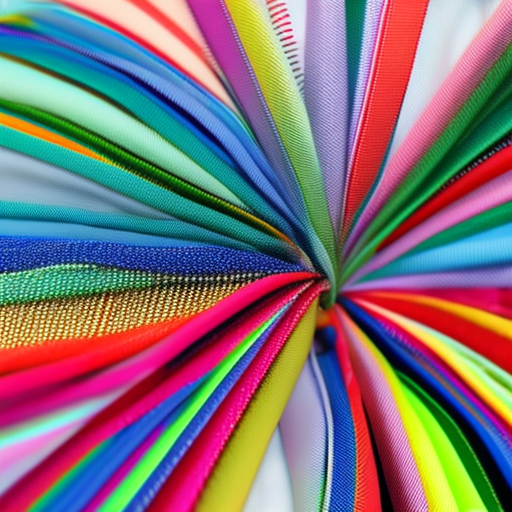
Arrange the fabric strips in the order of the rainbow colors, starting with red at the top and ending with purple at the bottom. Pin the strips together to secure their position.
Step 4: Sew the strips together
Using either a needle and thread or a sewing machine, sew a straight stitch along the pinned edges of the fabric strips. Make sure to remove the pins as you sew to avoid any accidents.
Step 5: Press and finish
Iron the sewn fabric rainbow to remove any wrinkles. You can press the seams open or to the side, depending on your preference. Trim any excess fabric if necessary.
Congratulations! You have successfully sewn a fabric rainbow.

This looks like so much fun!
Mel Johnson: Wow, what a great way to brighten up a room!
I’m definitely trying this project, looks so cheerful!
This is such a creative way to showcase your skill and love for fabric! From the beautiful colors to the intricate stitches, creating this rainbow will leave you with a sense of accomplishment and pride. I’m sure it will be a true centerpiece wherever you decide to display it!
What a fun and colorful project! I can’t wait to try it myself!
This is so vibrant and eye-catching! I can’t wait to see the finished product!
What an inspiring project! I’m so eager to try this out!